Navigating the complexities of HIV testing can be daunting, especially for those seeking privacy and accuracy. In countries where HIV awareness and testing are crucial for public health, knowing how to use an HIV test kit correctly is more important than ever. That’s why being able to access the easy-to-use kits with clear HIV test instructions is important to manage HIV successfully.
If you think you have a potential HIV exposure, it is best to confirm your HIV status with an HIV test kit. Discover its proper usage with this complete guide today!
Understanding HIV Test Kits

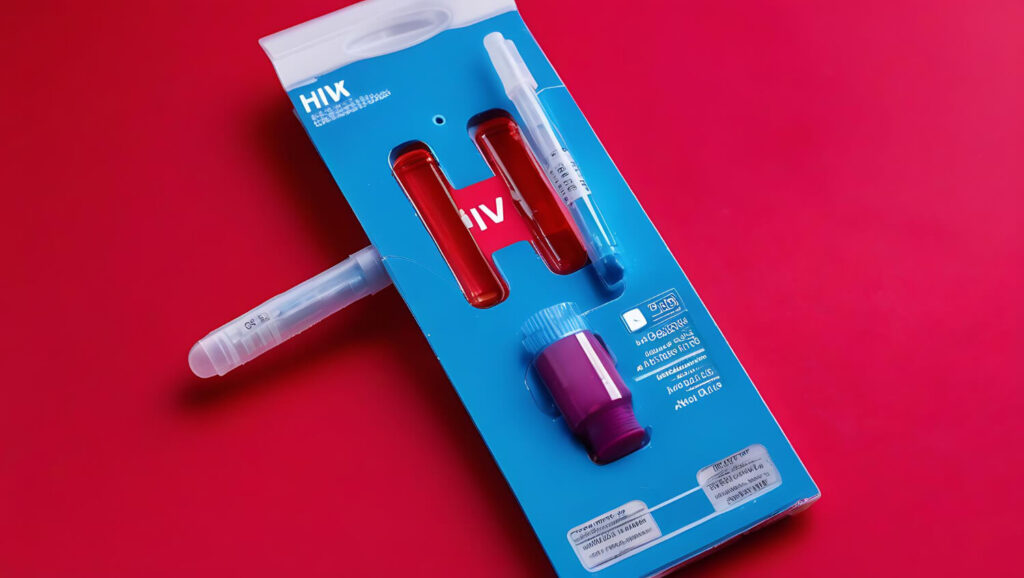
HIV test kits are designed to detect the presence of the Human Immunodeficiency Virus (HIV) in an individual’s body. The kits are tools for HIV self-testing, allowing people to be ready when fighting against HIV/AIDS. It enables quick and confidential testing outside traditional healthcare settings.
Usage of the kits must be part of routine health care of high risk individuals to ensure their safety and the safety of the people around them. Thus, preventing the possibility of HIV spread.
Common People to Use HIV Test Kits
- People with multiple sexual partners
- People with weak immune system
- People with recent sexual activities
When to Use HIV Test Kits

HIV test kits should be used after any possible exposure to the virus. This kit offers routine screening while promoting fast results and privacy.
In that case, here are the possible events where people must use HIV test kits:
- After engaging in unprotected sexual intercourse
- When people share needles for drug administration
- Contact with infected blood or bodily fluids
- Exposure to other HIV-infected materials
- Recommended for pre-travel testing
- Pregnant people must also use HIV test kits to prevent mother-to-child transmission
HIV Test Instructions
Generally, HIV test kits are designed to be user-friendly. It is a kit that can be used by people anywhere due to its portability. At the same time, the test kit includes the HIV test instructions, which are easy to follow.
Here are the directions for HIV test kit usage:
1. Begin by carefully reading the instruction manual provided in the HIV test kit package to familiarize yourself with the process.
2. Ensure you have all the necessary components laid out neatly before starting the test.
3. Clean and disinfect your hands to avoid contaminating the test components.
4. Use the lancet provided to prick your finger and collect a small blood sample as instructed.
5. Follow the step-by-step guide on how to apply the blood sample to the test strip accurately.
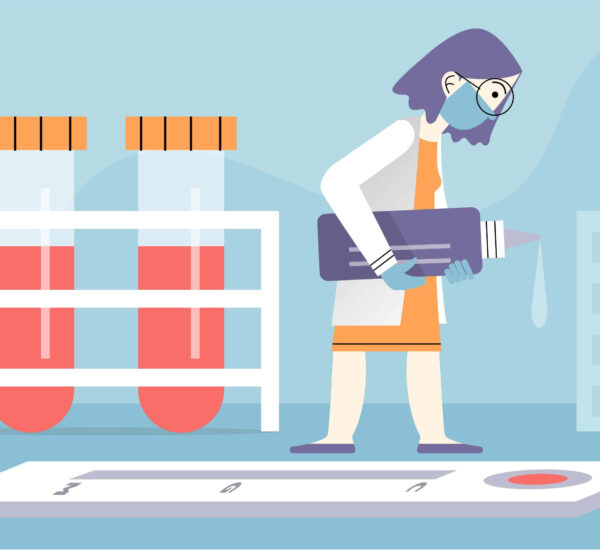
6. Add the test fluid included, and wait for the results.
Please take note that the test results are commonly available within 15 to 60 minutes. It’s best to read the HIV test instructions carefully before performing the task. That way, you’ll be on the right track when using the test kit.
Interpreting HIV Test Results

While understanding the HIV test instructions is crucial for effective HIV test kit usage, knowing what the result means is still more relevant. In that case, there are 3 possible outcomes that you can receive after the 60-minute time mark. Let’s discuss these results below!
- Positive test result – When the test kit shows lines beside the (C) and (T) of the test kit
- Negative test result – If the result has a line beside (C)
- Inconclusive result – The test didn’t work properly with a line beside (T)
What they mean
A negative result indicates no HIV antibodies or antigens were detected in the sample. However, it is important to note the window period; if the exposure occurred recently, retesting after the window period is recommended to ensure accuracy.
Meanwhile, a positive HIV test result indicates the presence of HIV antibodies or antigens. It is important to understand that a positive result does not confirm HIV infection definitively. A follow-up test, preferably a confirmatory test is necessary for an accurate diagnosis.
Lastly, an invalid result occurs if the test does not function correctly, possibly due to user error or expired components. If an invalid result is obtained, the test should be repeated with a new kit to ensure accurate results.
Next Steps After a Positive Result
If you receive a positive result for the first test, the first step is to seek medical confirmation in assigned medical clinics or testing centers. Confirmatory tests provide a definitive diagnosis and help determine the appropriate HIV treatment plan. Early initiation of antiretroviral therapy (ART) can significantly improve health outcomes and reduce the risk of transmission to others.
It is also important to inform sexual partners and close contacts so they can get tested and seek medical advice if necessary. Additionally, accessing support services, such as counseling and support groups, can help manage the emotional and psychological aspects of an HIV diagnosis.
Frequently Asked Questions
Do different types of tests have different HIV test instructions?
Yes, it’s possible, especially if the test uses different samples. For instance, other test types may use blood, while others use oral fluids like saliva. It’s best to check the kit thoroughly to ensure proper kit usage.
How many drops of blood on the test stick will be used to test for HIV?
It will depend on the type of test kit you’ll be using. However, a certain type of test kit will involve a tube attached to the test kit. The HIV test instructions may involve filling the test tube for the test kit to work.
Conclusion
Empowering yourself with knowledge about HIV test kit usage not only enhances personal health but also contributes to the broader public health efforts aimed at reducing HIV prevalence. Whether you are considering testing for the first time or looking to understand the nuances of different test kits, this guide serves as a comprehensive resource to navigate the process confidently.
If you need access to rapid tests or other types of HIV tests, feel free to book a consultation with an infectious disease doctor!


